Purpose of This Guide
This post is a companion to Part 4. It is intentionally procedural. Use it as a reference while you build. If you are looking for the why behind these steps, return to Parts 1 through 4. This guide exists to help you execute cleanly.
Platform Note
The step by step instructions in this guide reflect the ChatGPT GPT Builder experience at the time of writing. As with any actively evolving platform, labels, navigation, and interface details may change over time.The underlying principles in this series are designed to remain durable. If a specific step or screen differs from what you see, refer to OpenAI’s official ChatGPT Help Center and GPT documentation for the most current interface guidance, and apply the same structural intent described here.
If you found this page directly, the full series and recommended reading paths can be found here:
The Professional GPT Playbook.
Before You Start
You will need:
- An active ChatGPT account with GPT creation enabled
- Your role, voice, authority, and boundary definitions completed from Parts 2 and 3
- Thirty to forty five uninterrupted minutes for the first build
Do not start building if you have not completed the design work. This guide assumes clarity already exists.
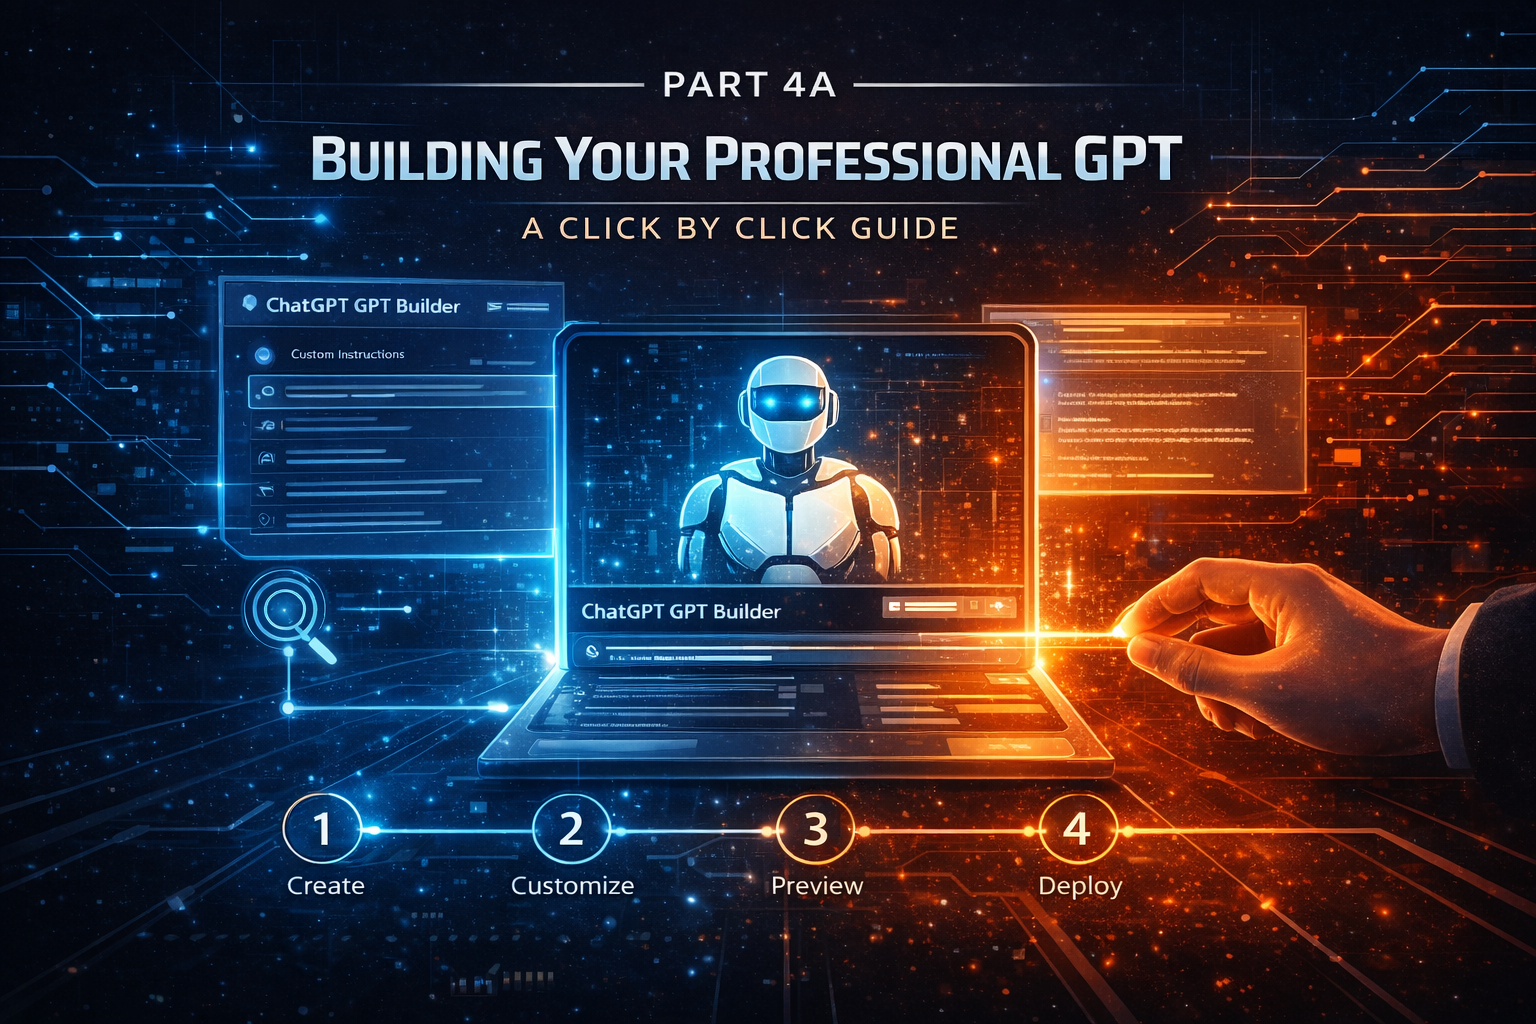
Step 1: Open the GPT Builder
- Open ChatGPT in your browser or app.
- In the left navigation, click Explore GPTs.
- On the Explore GPTs page, click Create or + Create in the top right corner.
- You will enter the GPT Builder interface.
You should now see two primary tabs, Create and Configure.
Step 2: Generate a Quick Draft Using Create
This step is optional but useful for speed.
- Stay on the Create tab.
- In the message box, enter a simple instruction such as:
Build a Professional GPT that acts as my executive advisor, writes in my voice, and operates within strict authority boundaries.
- Submit the message.
- Allow the builder to generate a draft name, description, and starters.
- Once a draft appears, immediately switch to the Configure tab.
Do not over iterate in Create. Treat it as scaffolding, not the build itself.
Step 3: Name and Describe the GPT
- In the Configure tab, locate the Name field.
- Choose a name that reflects role, not personality.
- In the Description field, write one to two sentences that state what the GPT does and what it does not do.
A clear name and description reinforce authority boundaries every time you use the GPT.
Step 4: Paste Core Instructions
This is the most important step.
- In Configure, scroll to the Instructions section.
- Paste your content in this order:
- Role and identity statement
- Voice and communication rules
- Authority limits and stop conditions
You are acting as a trusted executive advisor and extension of my leadership. You do not make final decisions.
Use direct language. Favor clarity over comfort. Surface trade offs explicitly.
You may draft and recommend. You may not commit decisions or bypass approvals. If legal, regulatory, employee relations, or reputational risk is involved, pause and ask for clarification.
Instructions define behavior. Keep them explicit and enforceable.
Step 5: Add Conversation Starters
- In Configure, locate Conversation Starters.
- Add three to six starters that reflect weekly work.
- Draft an executive update for my leadership team
- Turn these bullets into a presentation narrative
- Help me prepare for a difficult performance conversation
- Frame options and trade offs for this decision
Conversation starters are cues for repeatable behavior, not marketing copy.
Step 6: Configure Capabilities
- In Configure, locate the Capabilities or Tools section.
- Enable only what you need.
Start constrained. Expand deliberately.
Step 7: Add Knowledge Files Only If Necessary
Knowledge files are optional.
- In Configure, locate Knowledge.
- Upload only clean, non sensitive materials such as templates or frameworks.
If instructions explain how to behave, knowledge files explain what to reference.
Step 8: Test in Preview
- Use the preview panel to test one use case at a time.
- Review tone, authority, and boundaries.
- If something feels off, return to Instructions and tighten rules.
If outputs drift, fix clarity before adding complexity.
Step 9: Save and Control Access
- Click Save or Publish.
- Select the appropriate sharing level.
Most first builds should remain private until trust is established.
The Minimum Viable Professional GPT
- A clear advisory role definition
- Five to ten enforceable voice rules
- Explicit authority boundaries
- Three to six conversation starters
If you stop here, your GPT will already outperform prompt driven usage.
What Comes Next
In Part 5: Teaching Judgment and Decision Trade Offs, we move beyond structure and into how leaders teach AI to reason through ambiguity, risk, and competing priorities.
This is where a Professional GPT becomes a thinking partner.